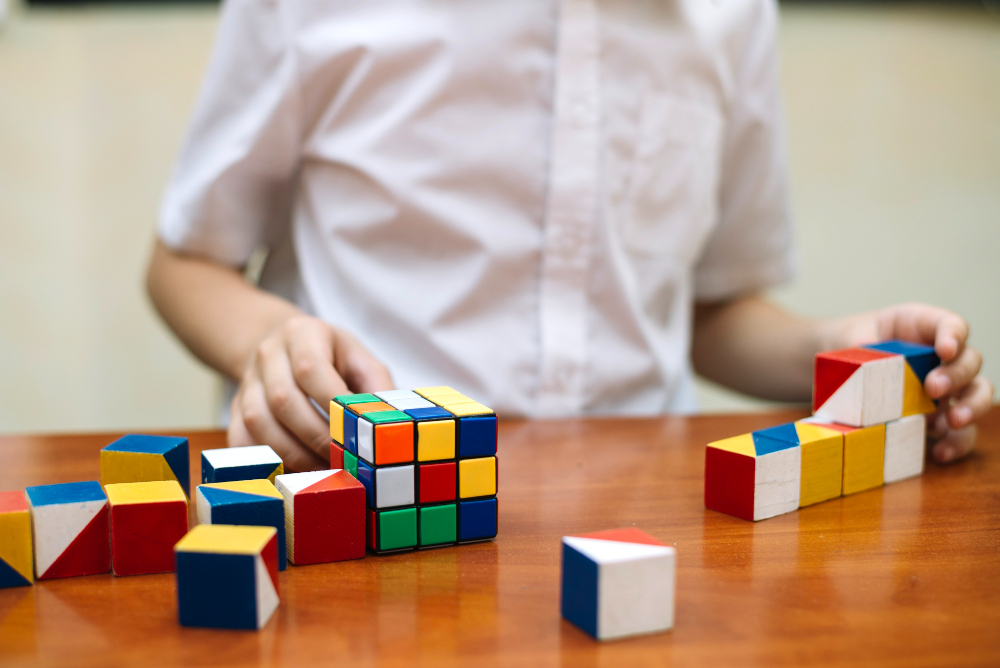


A Rubik’s Cube can be solved in a variety of ways, each appropriate for varying skill levels, from novices to speedcubers, and even ways to solve it while wearing a blindfold. The majority of folks finish one face of the cube but struggle to figure out what to do next. Do not be concerned! I’ll show you the easiest way to solve the cube in this post, which is ideal for beginners.

This approach divides the Rubik’s Cube into layers and solves each layer independently using particular algorithms without affecting the pieces that are correctly positioned. Each of the seven steps is explained on a different page for easier comprehension if you require more thorough explanations or examples.
It’s crucial to comprehend the fundamental cubing terminology and the algorithmic notation before you start. Here is a brief explanation of the meaning of the letters:
F: In front
R: Right
L: Left
U: Up
D: Down
Solving the cube will be much simpler if you become familiar with these!
Clockwise rotations:Counterclockwise rotations are marked with an apostrophe (‘):

If you get stuck, don’t worry. There’s help just a few clicks away. You can use an online Rubik’s Cube solver to repair your puzzle. Just input the current scrambled state of your cube and the program will guide you step-by-step through solving it. This tool comes in handy especially when you make a mistake and need a quick way to reset your cube.
You can make use of an online Rubik’s Cube Timer to track your progress and see how much faster you are solving. It allows you to log your solving times, so you may set more important goals and measure your improvement. Many times also have features such as averaging your time and providing solving statistics, which can be used to fine-tune your skills gradually.
These are tools to use when fix your mistakes or tracking improvements. Enjoy the journey to becoming a Rubik’s Cube expert!
1. White cross
Let’s start with the white face. First, we need to create a white cross being careful about the color of the center pieces on the sides. You can attempt to do this without referring to the instructions.
Use this stage to familiarize yourself with the puzzle and see how far you can get without help. This step is relatively intuitive because there are no solved pieces to watch out for. Just practice and don’t give up easily. Try to move the white edges to their places not messing up the ones already fixed.

2. White corners
In this step, we have to arrange the white corner pieces to finish the first face. If you are very persistent and you managed to do the white cross without help then you can try to do this one as well. If you don’t have patience I’ll give you some clue.
Twist the bottom layer so that one of the white corners is directly under the spot where it’s supposed to go on the top layer. Now, do one of the three algorithms according to the orientation of the piece, aka. in which direction the white sticker is facing. If the white corner piece is where it belongs but turned wrong then first you have to pop it out.

3. Second layer
Till now, the procedure was pretty straightforward but from now on we have to use algorithms. We can forget the completed white face so let’s turn the cube upside down to focus on the unsolved side.
In this step, we are completing the first two layers (F2L). There are two symmetric algorithms we have to use in this step. They’re called the Right and Left algorithms. These algorithms insert the Up-Front edge piece from the top layer to the middle layer while not messing up the solved white face.
If none of the pieces on top are matched with any on any of these three images, rotate the pieces of the top layer until there exists an edge of a top piece that coincides with at least one on either of the bottom two of the following pictures: Then repeat matching algorithm according to that arrangement:

If an edge piece is on its place in the second layer orienting wrong then we have to apply the algorithm twice. First, we must pop it out inserting another one in its place.
4. Yellow cross
First, solve the final layer creating a yellow cross at the top of the cube. It doesn’t matter if the pieces are not in their final places so we don’t have to pay attention to the colors of the sides.
We have three possible patterns for the top. Use this algorithm to go from one state to the other:

When you see a dot you have to apply the algorithm three times. If you have a yellow “L” shape then only twice, holding the cube in your hands as seen on the image below.
In case of a horizontal line you just have to execute the permutation once.
5. Yellow edges
After you have made the yellow cross on top of the cube, you need to place the yellow edge pieces in their final positions to match the colors of the side center pieces. Swap the front and left yellow edges with the following algorithm:

It can occur that you would have to perform the algorithm over and over to get to a desired state. Don’t be alarmed, especially when working through a complicated puzzle like the Rubik’s Cube, this is a normal process. Repeating the algorithm allows the pieces to fine-tune an arrangement without causing what has already been made.
6. Yellow corners on their places
If only the final layer corner pieces are left unsolved, get those into position, regardless of which direction they are oriented. Find a corner piece that’s already in the right spot, even if it is rotated incorrectly, and move it to the front-right-top corner.
Once it’s in place, use the following algorithm to cycle the other three incorrect corners into their correct positions. Don’t worry about their orientation for now; we’ll fix that in the next step.

Do it twice to get an inverse rotation of the pieces. If the yellow corners none of them are in the right place then run the algorithm once to get a good piece.
7. Orient Yellow Corners
All pieces are on their right places you only have to orient the yellow corners to finish it. This step proved to be the most confusing so read carefully the instructions and follow the steps.

Hold the cube with an unsolved corner at front-right-top of the cube. Algorithms must be carried out twice or four times if that piece was oriented very well:

It’s going to look like you have completely messed the whole cube, but trust me, all corner pieces will be oriented and it will be fine again.
Turn the top layer only to move another unsolved yellow piece to the front-right-top corner of the cube and repeat this R’ D’ R D until this specific piece is ok. Do not move the two bottom layers between these algorithms and never rotate the whole cube!
You are almost there; so pay attention since this is that step in the tutorial where most of us usually get lost. If this does not make any sense,
Repeat this until your Cube is solved and enjoy.

Leave a Reply